-

Equine New Year’s Resolutions
It's that time of year when everyone seems to be resolving to do things differently. Whatever that means to you, we are putting a horsey spin on resolutions as they relate to what we do with our equin...
-
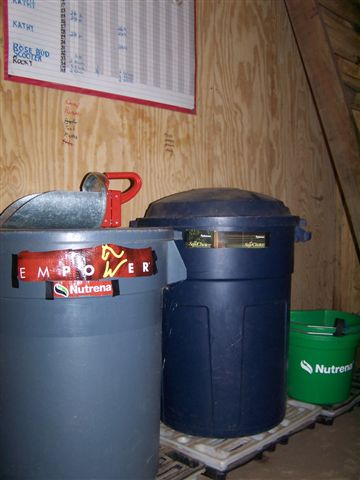
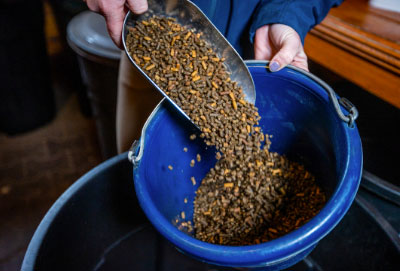
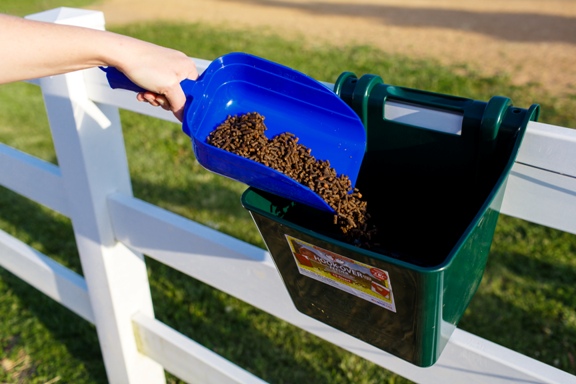
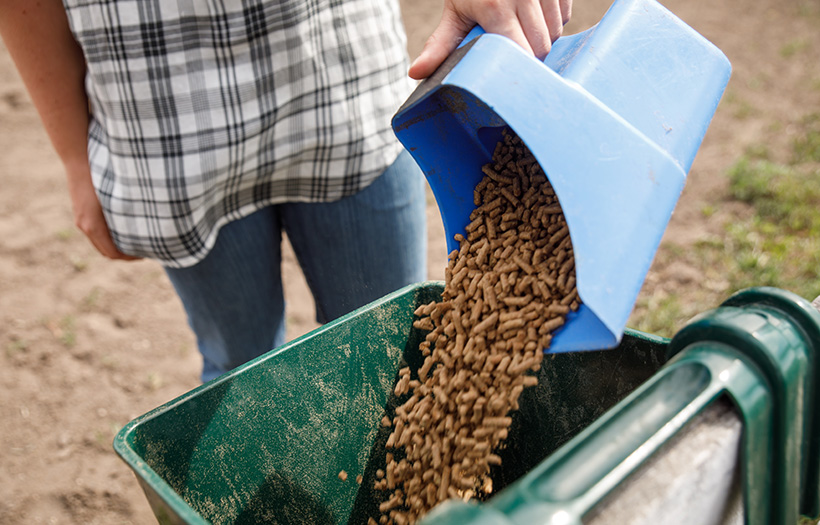
Feed Room Security – What is most important to your horse?
The area where feed is stored can be very important to the long term health of your horse. Feed room security is essential and failure to store feed properly can be hazardous to your horse. Feed...
-
Rehabilitating a Neglected Horse: A Caregiver’s Guide
There is an abundance of neglected horses in the United States today. If you have made the decision to rehabilitate a neglected horse, we have compiled some important steps and considerations to help ...
-

Prebiotics & Probiotics for Horses
Pre- and probiotics are considered “functional ingredients” that are added to horse feed to provide benefits to your horse. Here is some information about them and what they can mean for the diges...
-
Calories in Horse Feeds
Body condition and weight are important when assessing the health of your horse. Feeding a product with the appropriate calorie to nutrient ratio is key to a horse's overall health and condition....
-
Starches and Sugars in Horse Feeds
Frequently, when people ask about “low-carb” diets, they’re really asking about low non-structural carbohydrate (NSC) diets. Controlling NSC intake is vital for the well-being and performance of...
-

Vitamins for Horses
Both fat-soluble and water-soluble vitamins support the nutritional requirements of horses for healthy skin, coat and hooves....
-

Colic in Horses
Ask most horse owners, and their number one fear for their horses is colic. To reduce colic we must first understand all the contributing factors that have a role in causing colic....
-

Omega 3 and 6 Fatty Acids for Horses
There are several potential health benefits of providing omega-3 fatty and -6 fatty acids in equine diets....
-
Fiber in Horse Feeds
Horses should consume 1.0 - 1.5% of their bodyweight per day in quality roughage to meet their fiber needs. The first and foremost source of fiber in a horses’ diet is their roughage, or hay, source...
-
Body Condition Scoring a Horse
Body condition scoring in horses is a numerical condition scoring system that provides a consistent measure of the degree of body fat in horses of various breeds and sizes....
-
Minerals in Horse Feed
A balanced mineral program that includes both macro and trace minerals is essential in the formation and repair of structural tissues, and for healthy skin hair and hooves....
-

Iron Metabolism and Insulin Resistance in the Horse
The amount of iron in the horse’s diet has become a topic of much discussion and concern for many horse owners. Following is a brief discussion of iron metabolism and what we know about it regarding...
-

Weighing Your Horse Without a Scale
Knowing the weight of your horse is important for several things, such as feeding properly, administering medications or dewormer paste, and generally tracking the health of your horse....
-
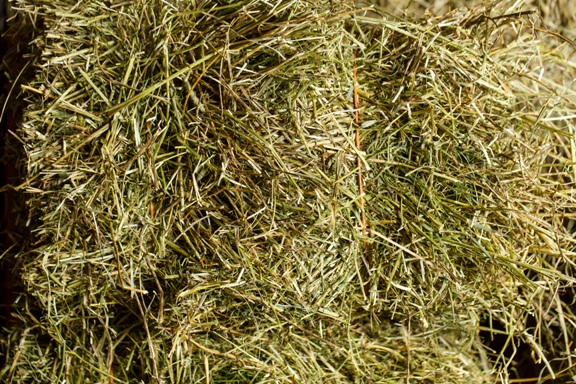
Importance of Hay Quality for Horses
The quality and nutrient content of the hay or roughage source is critical because it is the foundation of the horse's diet and provides 50%- 90% of the total nutrient intake for many horses....
-
Should I be Worried About a High Protein Feed?
All horses require adequate amounts of protein containing specific amino acids for maintenance, growth, reproduction and work. Proteins are important building blocks for body cells. In addition to imp...
